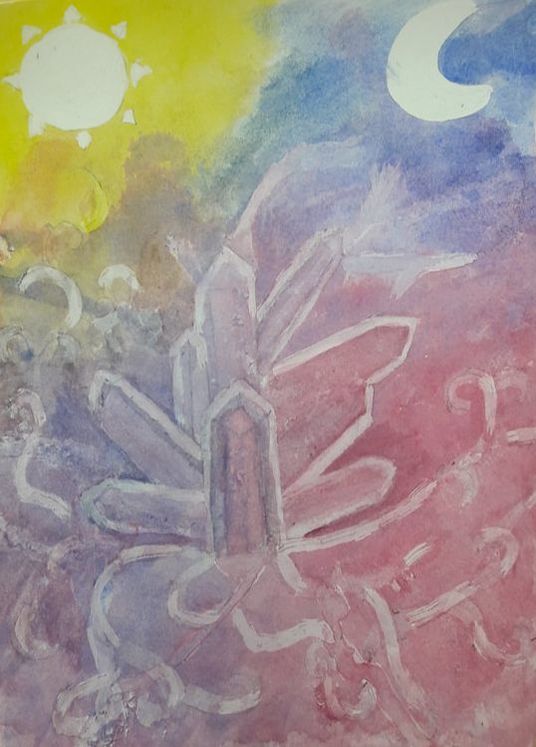
 1. The procedure you had to do to create the poured watercolor painting was first you had to choose out what you were going to draw, next you had to draw it on a piece of paper and paint masking fluid on the places where you wanted it to be light. After that you sprayed a little bit of water on your piece and put paint all over it and slowly move your painting around to get a nice mix of colors. once you're finished you would peel away the masking fluid.
2. The difficulties i had with this project was most definitely trying to figure out what to draw. i originally was going to draw three cupcakes but i hated the idea so i changed the ideas to crystals. Another difficulty i had was trying to make the crystals actually have color in them. 3. 4 things i learned from this project was 1. I learned how to do this cool technique. 2. i know how to use masking fluid and what it does. 3. You shouldn't put too much water on your paper or else the paint won't look so vibrant, and 4. Be patient, the masking fluid takes time to dry and each section you have to put more paint on. 4. The thing i would do differently for this project was probably change the background or make the crystals even bigger. 5. I used layers to layer and make my crystals look like actual crystals, I didn't really use any textures, and lastly, i used blue and red to make this beautiful purple color. 6. I think that the mini watercolor lessons were beneficial because it shows how to shade and lighten or darken an object. 7. I believe having the guest artist come was exciting and a fun experience because we got advice from a professional artist who does watercolor for a living. 8. I learned that you always need to put paper towels under your piece when you do this project or else the paint will get under your art and ruin it.
0 Comments
Leave a Reply. |
AuthorWrite something about yourself. No need to be fancy, just an overview. Archives
May 2018
Categories |
 RSS Feed
